


Looking for some simple science experiments with snow?
If snow is in the forecast, you might be ready for a little fun with the kids, once you’ve stocked up on your bread, milk, cocoa, and marshmallows. Why not turn a snow day into a science lesson with some simple experiments your kids will love? Here are some snow-day science experiments to try!

Snow Science Experiments for Kids:
Snowflakes: Catch and Examine
What Makes a Perfect Snowball?
Snow: Playing with volume
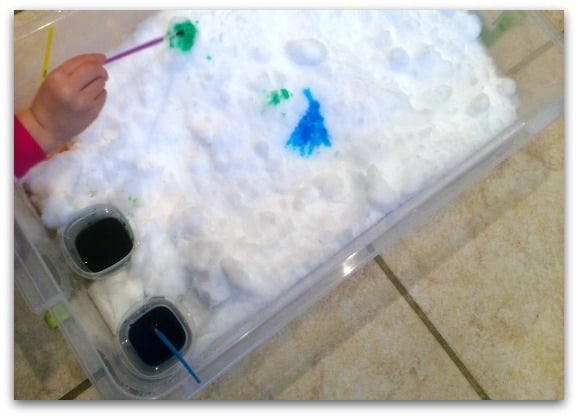
Bonus: Snow Art
Science experiments with snow: perfect for kids
It’s easy to find simple science experiments in the guise of snowflakes and snowballs. Not much is needed, just some snow and everyday tools that are lying around your home. This would also be a great time to start a science journal for your child (depending on your child’s age, the observations may either be drawn or written down).
Remember, these experiments are supposed to be fun and enjoyable, and results don’t have to be perfect. Once you get your kid running around examining their surroundings in a different way, you’ve already achieved your goal of creating a sense of wonder and curiosity!
1. Catch and Examine a Snowflake
Materials: black paper or dark fabric, magnifying glass
Steps: Place your black paper or fabric in the freezer at least a couple of hours before you think it will snow. When it starts to snow, take the black paper or fabric out of the freezer and catch some flakes. Bring the paper indoors and use the magnifying glass to examine and observe the shapes. With this experiment, you can examine the unique patterns of a snowflake. How many sides do you see in each snowflake? What color do you see? Kids might want to repeat the process.
Explanation: Snowflakes are frozen water released from the sky when it’s freezing outside (under 32°F). The water vapor molecules bond together and turn into ice crystals. Every snowflake has six sides due to the shape of water molecules. Snowflakes form in different sizes and patterns depending on how many ice crystals stick together. Snow appears white because of the reflection of light from the sun, but observed up close, they are actually clear crystals.
Science Journal: Draw or write down your observations. What did you think the snowflake would look like? What did it look like using the magnifying glass?

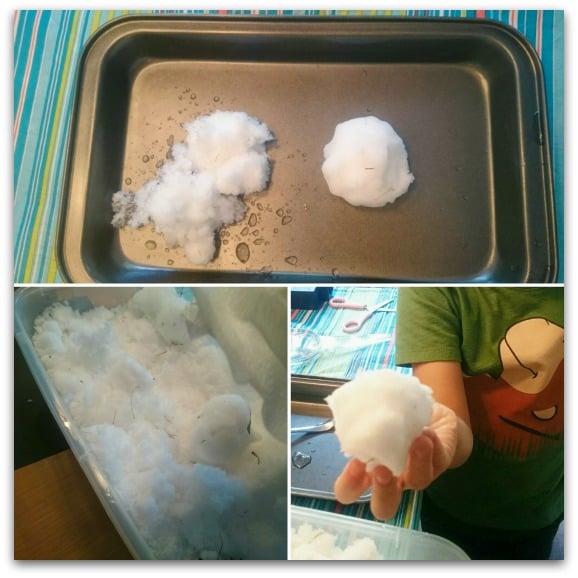
2. What Makes a Perfect Snowball?
Materials: bucket for gathering snow, gloves, snow
Steps: Gather some snow. First, try to pack snow into a snowball using your snow mittens. Try to pack them together in a ball by squeezing gently. Use the heat of your hands to melt some of the snow. Try to do this to fresh powdery snow, day old snow, and slushy snow.
Explanation: Snow on the ground is layers of snowflakes. When you press the snow into a ball, you are creating pressure that melts some of the ice crystals in the snowball. As the crystals refreeze, the ice acts like a glue to help the remaining crystals stick to each other better.
Science Journal: Make a grid of the types of snow you used: fresh powdery snow, day-old snow, slushy snow. Write or draw your observations. Which snow sticks better to make a perfect snowball?
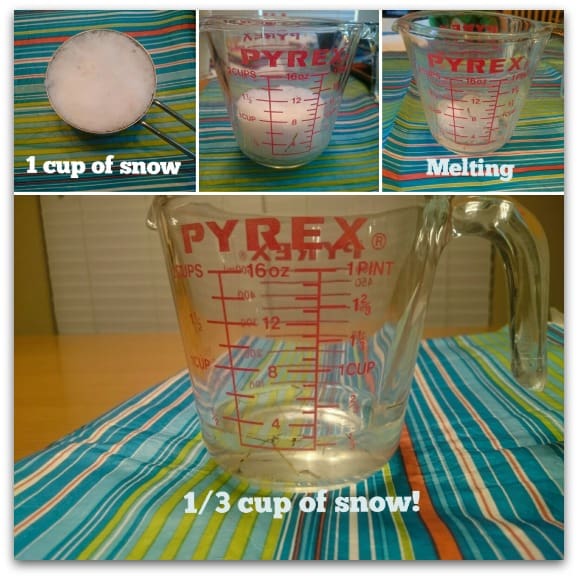
3. Snow to Go
Materials: measuring cup or clear jar, snow
Steps: Fill your cup to the brim with snow. As you are packing the snow in the cup, ask what will happen to the snow in the cup? Will it melt? If it turns to water, will it still fill the cup, overflow, or not fill the cup? Set the cup of snow aside until it melts and record your predictions and final observations. If you use a clear jar, you can mark your prediction using a marker and compare with the actual water level as the snow melts (note: it will take a couple of hours for the snow to melt).
Explanation: Snow found on a surface is made up of a combination of snowflakes or ice crystals and air. As your cup of snow melts, the air is released. The amount of air in the snow determines the volume of water remaining when snow melts. With this experiment, you will find that your cup of snow takes up more space than the water left behind.
Science Journal: In your journal, write or draw how much snow you collected. Also write down your prediction of how much water the cup of snow will leave behind. Record the final results. Were you right? Whose guess was the closest? Pictures are fun for this experiment.
Do you have a favorite science experiment your kids love? Share it with us in the comments!
BONUS: Did you have fun with science in the snow?
We have more ideas! How about some snow art? Try snow painting!
You can do this activity even if there isn’t a heavy accumulation of snow!
Looking for more snow day ideas?
- Check out Southern Snow Sled Alternatives for ideas how to sled without the standard equipment.